创建uni-app项目
有两种方式创建uni-app项目:
- 通过HBuildX可视化界面创建
- 通过vue-cli命令行创建
这里主要介绍通过vue-cli命令行创建uni-app项目及项目配置的过程。
1
2
3
4
5
6
7
8
9
10
11
|
1. node 版本 16+
2. pnpm 版本 8.x
npm i -g @vue/cli
npx degit dcloudio/uni-preset-vue
npx degit dcloudio/uni-preset-vue
|
注意:如命令行创建失败,请直接访问 gitee 下载模板
更多的注意安装流程和注意事项可以参考官网:uni-app官网
基础项目结构如下:
1
2
3
4
5
6
7
8
9
10
11
12
13
14
15
16
17
18
| ├── index.html
├── package.json
├── shims-uni.d.ts
├── src
│ ├── App.vue
│ ├── env.d.ts
│ ├── main.ts
│ ├── manifest.json
│ ├── pages
│ │ └── index
│ │ └── index.vue
│ ├── pages.json
│ ├── shime-uni.d.ts
│ ├── static
│ │ └── logo.png
│ └── uni.scss
├── tsconfig.json
└── vite.config.ts
|
运行项目
安装项目依赖
运行项目
根据项目需求运行对应环境的脚本命令,这里演示微信小程序
运行完项目后,目录会生成dist文件夹,里面的dev中mp-weixin文件则是用于运行编译的文件
导入微信开发者工具
在运行项目完成后,按照提示运行方式:打开微信开发者工具, 导入 dist\dev\mp-weixin 运行,此时可以在微信开发者工具调试项目;
vscode 开发需要安装的插件
- uni-create-view (不强制推荐)
- uni-helper (强烈建议安装)
- uniapp 小程序扩展 (强烈建议安装)
安装类型声明文件
1
| pnpm add @types/wechat-miniprogram @uni-helper/uni-app-types -D
|
配置 tsconfig.json
1
2
3
4
5
6
7
8
9
10
11
12
13
14
15
16
17
18
19
20
21
22
23
24
25
26
27
28
29
30
31
32
33
34
35
36
| {
"extends": "@vue/tsconfig/tsconfig.json",
"compilerOptions": {
"sourceMap": true,
"baseUrl": ".",
"paths": {
"@/*": [
"./src/*"
]
},
"lib": [
"esnext",
"dom"
],
"types": [
"@dcloudio/types",
"@types/wechat-miniprogram",
"@uni-helper/uni-app-types"
],
"ignoreDeprecations": "5.0"
},
"vueCompilerOptions": {
"nativeTags": [
"block",
"component",
"template",
"slot"
]
},
"include": [
"src/**/*.ts",
"src/**/*.d.ts",
"src/**/*.tsx",
"src/**/*.vue"
]
}
|
安装官方uni-ui框架
关于 ui 框架强烈建议使用官方 uni-ui 不推荐使用其他 ui 框架
安装
1
2
3
4
5
|
pnpm i sass -D
pnpm i @dcloudio/uni-ui
|
1
2
3
4
5
6
7
8
9
10
11
12
13
14
15
|
{
"easycom": {
"autoscan": true,
"custom": {
"^uni-(.*)": "@dcloudio/uni-ui/lib/uni-$1/uni-$1.vue"
}
},
"pages": [
]
}
|
使用组件
1
2
3
4
5
6
7
8
9
10
11
12
13
14
15
16
17
18
19
20
21
22
23
24
25
26
27
28
29
30
31
32
33
34
35
36
37
38
39
40
41
42
43
44
45
46
47
48
49
50
51
52
53
54
55
56
57
58
59
60
61
62
63
64
65
66
| <!--
* @Description:
* @Author: xiuji
* @Date: 2023-08-25 19:45:55
* @LastEditTime: 2023-10-20 15:42:08
* @LastEditors: Do not edit
-->
<template>
<view class="content">
<image class="logo" src="/static/logo.png" />
<view class="text-area">
<text class="title">{{ title }}</text>
</view>
<view>
<!-- uni-ui组件 -->
<uni-number-box v-model="age" @change="changeValue" />
</view>
</view>
</template>
<script lang="ts">
import { ref } from 'vue'
export default {
setup() {
const title = ref('Hello')
const age = ref(0)
const changeValue = (e: number) => {
console.log(e)
}
return {
title,
age,
changeValue
}
}
}
const title = ref('Hello')
</script>
<style>
.content {
display: flex;
flex-direction: column;
align-items: center;
justify-content: center;
}
.logo {
height: 200rpx;
width: 200rpx;
margin-top: 200rpx;
margin-left: auto;
margin-right: auto;
margin-bottom: 50rpx;
}
.text-area {
display: flex;
justify-content: center;
}
.title {
font-size: 36rpx;
color: #8f8f94;
}
</style>
|
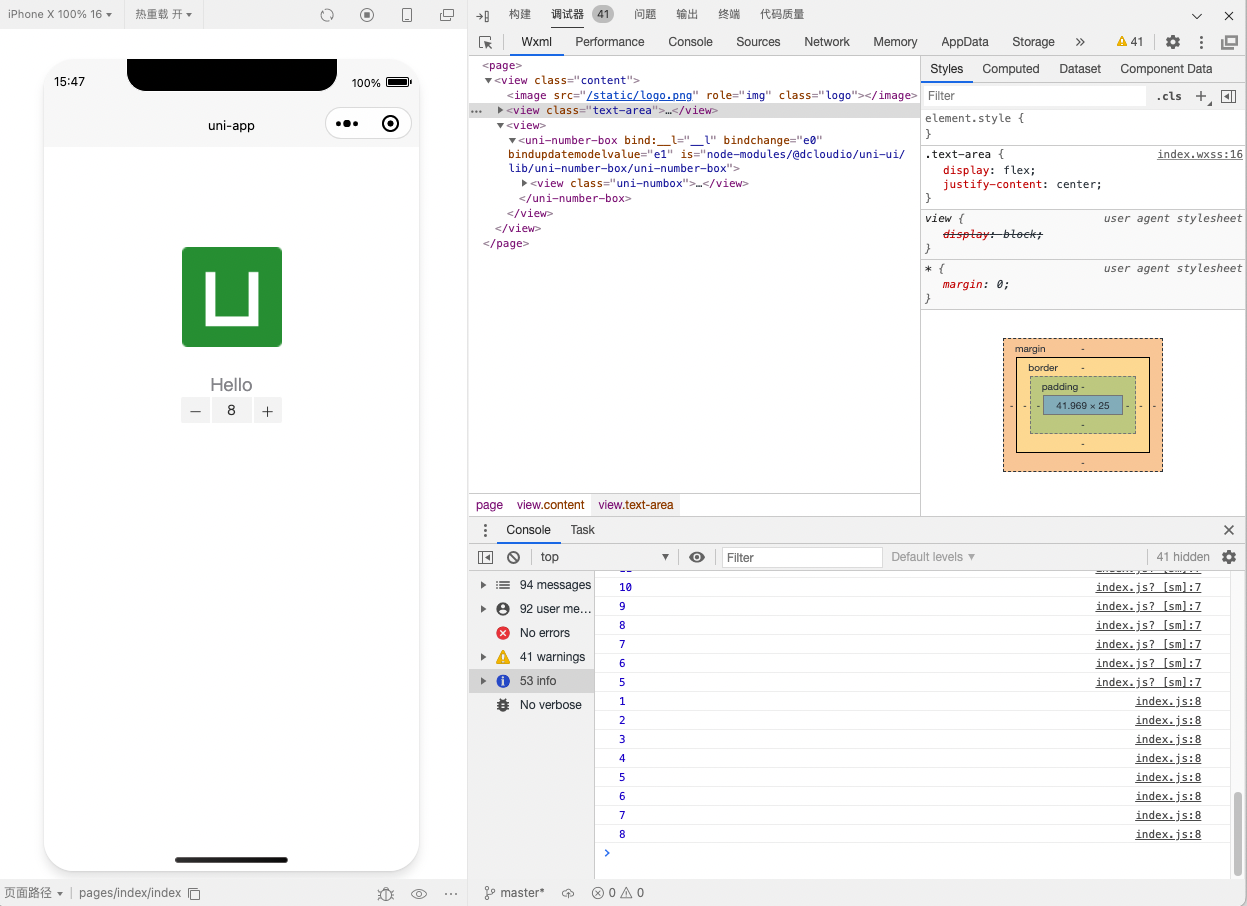
此时已经能正常使用

添加 uni-ui 组件类型
1
| pnpm add @uni-helper/uni-ui-types -D
|
配置TS类型
在 tsconfig.json 中配置在 types 内
1
2
3
4
5
6
| "types": [
"@dcloudio/types",
"@types/wechat-miniprogram",
"@uni-helper/uni-app-types",
"@uni-helper/uni-ui-types"
]
|
注意:下载最新的组件目前仅支持 uni_modules ,非 uni_modules 版本最高支持到组件的1.2.10版本
安装unocss
Unocss——即时按需的原子级CSS引擎
安装Vite插件
Vite 插件随 unocss 包一起提供。
1
2
3
4
5
|
pnpm add -D unocss
pnpm add -D unocss-preset-weapp
|
安装插件
1
2
3
4
5
6
7
8
9
10
11
12
13
14
|
import { defineConfig } from "vite";
import uni from "@dcloudio/vite-plugin-uni";
import UnoCSS from "unocss/vite";
export default defineConfig({
plugins: [uni(), UnoCSS()],
});
|
创建一个 uno.config.ts 文件:
1
2
3
4
5
6
7
8
9
10
11
12
13
14
15
16
17
18
19
20
21
22
23
24
25
26
27
28
| import presetWeapp from 'unocss-preset-weapp'
import { transformerAttributify, transformerClass } from 'unocss-preset-weapp/transformer'
import { defineConfig } from 'unocss'
export default defineConfig({
presets: [
presetWeapp(),
],
shortcuts: [
{
'border-base': 'border border-[#eee]',
'flex-center': 'flex justify-center items-center',
'text-c1': 'text-[#181818]',
'text-c2': 'text-[#333333]',
'text-c3': 'text-[#B2B2B2]',
'text-c4': 'text-[#CCCCCC]',
'bg': 'bg-[#f6f7fb]',
},
],
transformers: [
transformerAttributify(),
transformerClass(),
],
})
|
将 virtual:uno.css 添加到的主入口文件:
1
2
3
4
5
6
7
8
9
10
11
12
13
14
15
16
|
import { createSSRApp } from "vue";
import App from "./App.vue";
import 'virtual:uno.css'
export function createApp() {
const app = createSSRApp(App);
return {
app,
};
}
|
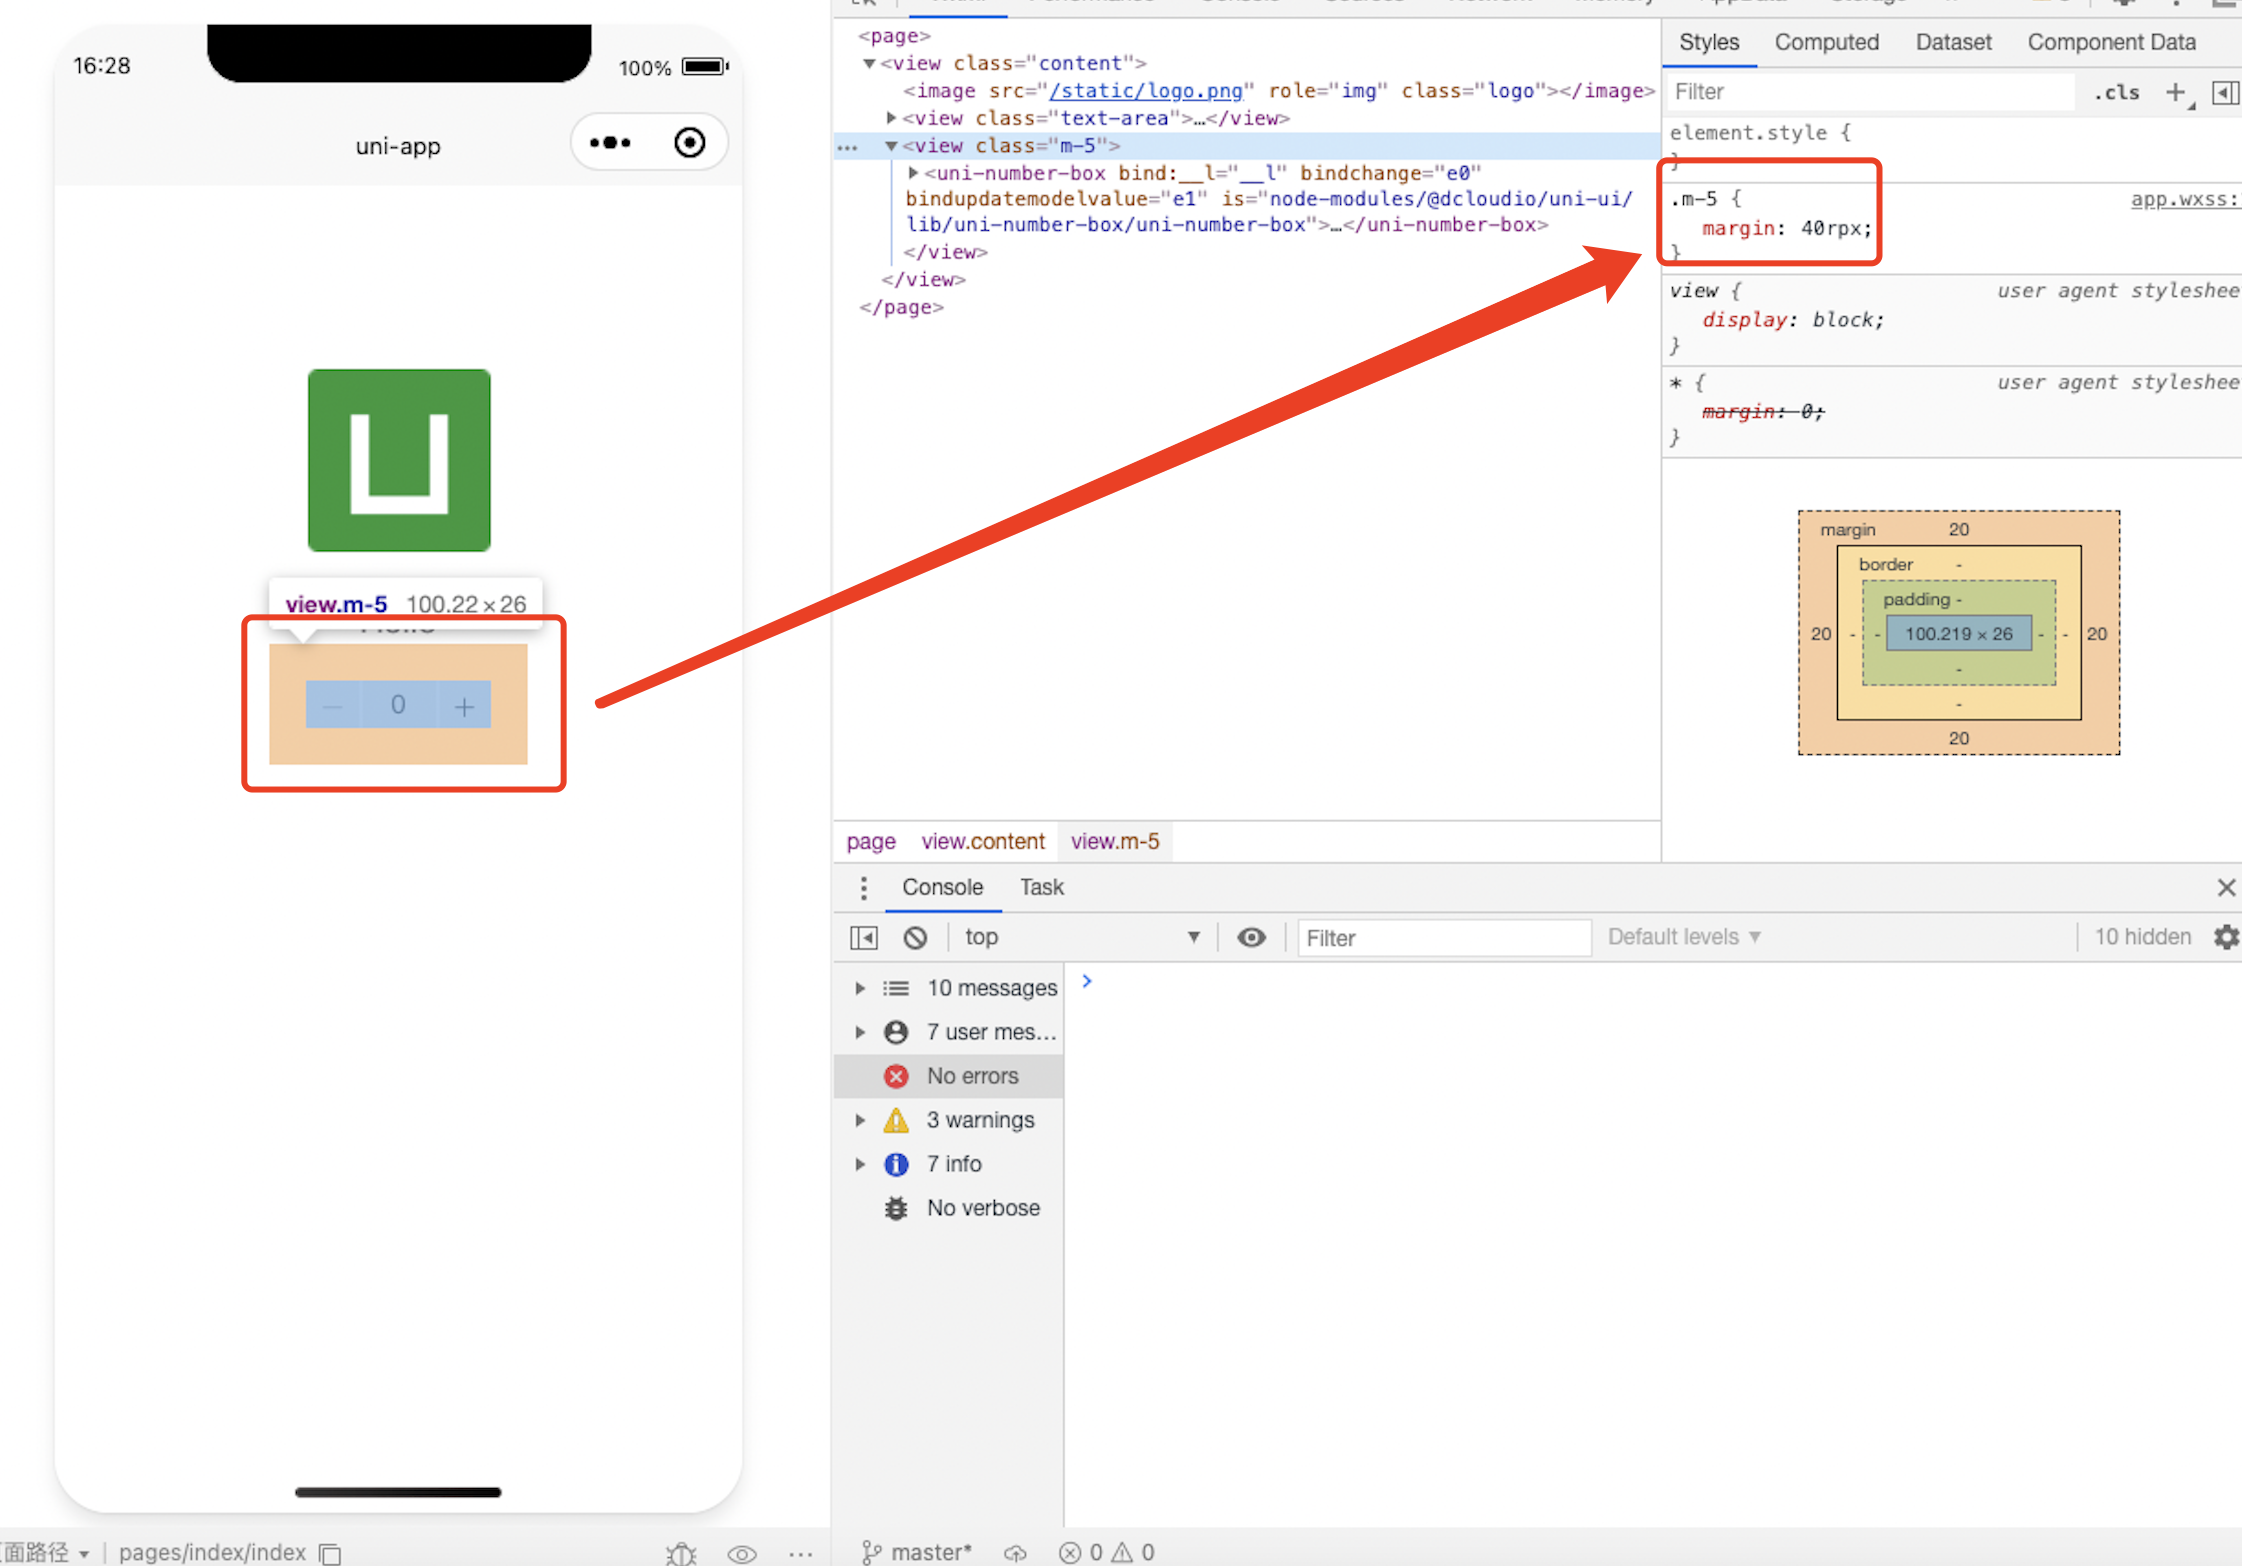
使用
1
2
3
4
5
| <!-- 添加对应规则类名m-5 -->
<view class="m-5">
<!-- uni-ui组件 -->
<uni-number-box v-model="age" @change="changeValue" />
</view>
|
效果如下:

增加 pinia 依赖和 pinia 持久化依赖
安装pinia、pinia-plugin-persistedstate
1
2
3
4
|
pnpm i pinia@2.0.36
pnpm i pinia-plugin-persistedstate
|
注意:pinia2.1以上版本需要vue3.3才能使用,建议锁定pinia版本
新建store文件夹
新建index.ts文件
1
2
3
4
5
6
7
8
9
10
11
12
13
|
import { createPinia } from 'pinia'
import piniaPluginPersistedstate from 'pinia-plugin-persistedstate'
export const pinia = createPinia();
pinia.use(piniaPluginPersistedstate);
export * from './modules/user'
|
使用pinia及数据持久化插件
1
2
3
4
5
6
7
8
9
10
11
12
13
14
15
16
17
18
19
20
21
22
23
24
25
26
27
28
29
30
31
|
import { defineStore } from 'pinia'
export const useUserStore = defineStore(
'pinia-user',
() => {
const state = {
name: 'pinia'
}
const setName = (name: string) => {
state.name = name
}
return {
state,
setName
}
},
{
persist: true
}
)
|
pinia-plugin-persistedstate详细的配置文件自行查阅文档。
总结
本uni-app基座基于vite4+vue3+pinia搭建,开箱即用,具体业务开发可参照uni-app官方文档
源码地址:https://github.com/Terminator957/Uniapp-miniprogram


